We thought it would be interesting for you, the reader, to see how a scarf is made. This is, in effect, an answer to the question: How long does it take to weave a scarf? We reply that the weaving is almost the least of it. We know that is not an especially lnformative answer. We hope this photo essay will give you a better idea of what goes into the final result. BTW, Richard, ever the Type A to the nth degree, is the neater of the two of us so you will see how he does it. (Pamela works a little more "freely"....)

This is where it all begins, on the warping board. Richard has determined how long the warp needs to be. The warp threads are the ones that run longitudinally, from one end of the scarf to the other end. To determine the length, various factors figure in: the number of scarves on the warp (usually five), the waste yarn tying up at both ends, the waste yarn between color changes, the length lost in "take up" (take up is the length lost because a given warp thread does not just go straight from one end to the other; it goes over a weft thread, under the next weft thread, over the next, etc.), and the woven length that will be lost to shrinkage in the finishing process. By guesstimates and empirical trials, R has created a formula/form for figuring out the necessary length (if we were a larger corporation we would call this an algorithm).

Bottom line: the warp threads need to be 498" (41' 6") long. Yes, the fiberglass tape is showing 41' 10". Why? Why fiberglass? It's more flexible than metal, but does not stretch. Why the extra few inches? This less-than-optimal warping board does not make all threads (or "ends") equal. The last turns to go on are considerably shorter than the first ones. A little fudging here will reduce the hassle-factor later, especially when we run up to a color change. You'll see.

This is the end peg on the warping board. The beginning, or starting, peg is in the upper left hand corner of the warping board. A given warp yarn starts at the beginning, goes to the upper right hand peg, comes down to the next peg on the left side, then over to the next on the right side, etc. When the length of yarn gets down to the end peg, it is wrapped around (making a U-turn, in effect) then retraces its path back up to the starting peg. One such roundtrip loop--or "turn"--makes two warp yarns. This image shows three turns/six warp yarns.

To quote Dirty Harry, "A man's got to know his limitations" There is no way R is going to keep count of turns in his head. So: here is a practical expedient. The turns on the end peg are grouped in convenient bundles: here are two groups of ten turns each (my friend ten?), one of five, and two units (which are waiting for three more, to make five, to be pushed together to make ten). Easy-peasy: 27 turns/54 ends showing here.
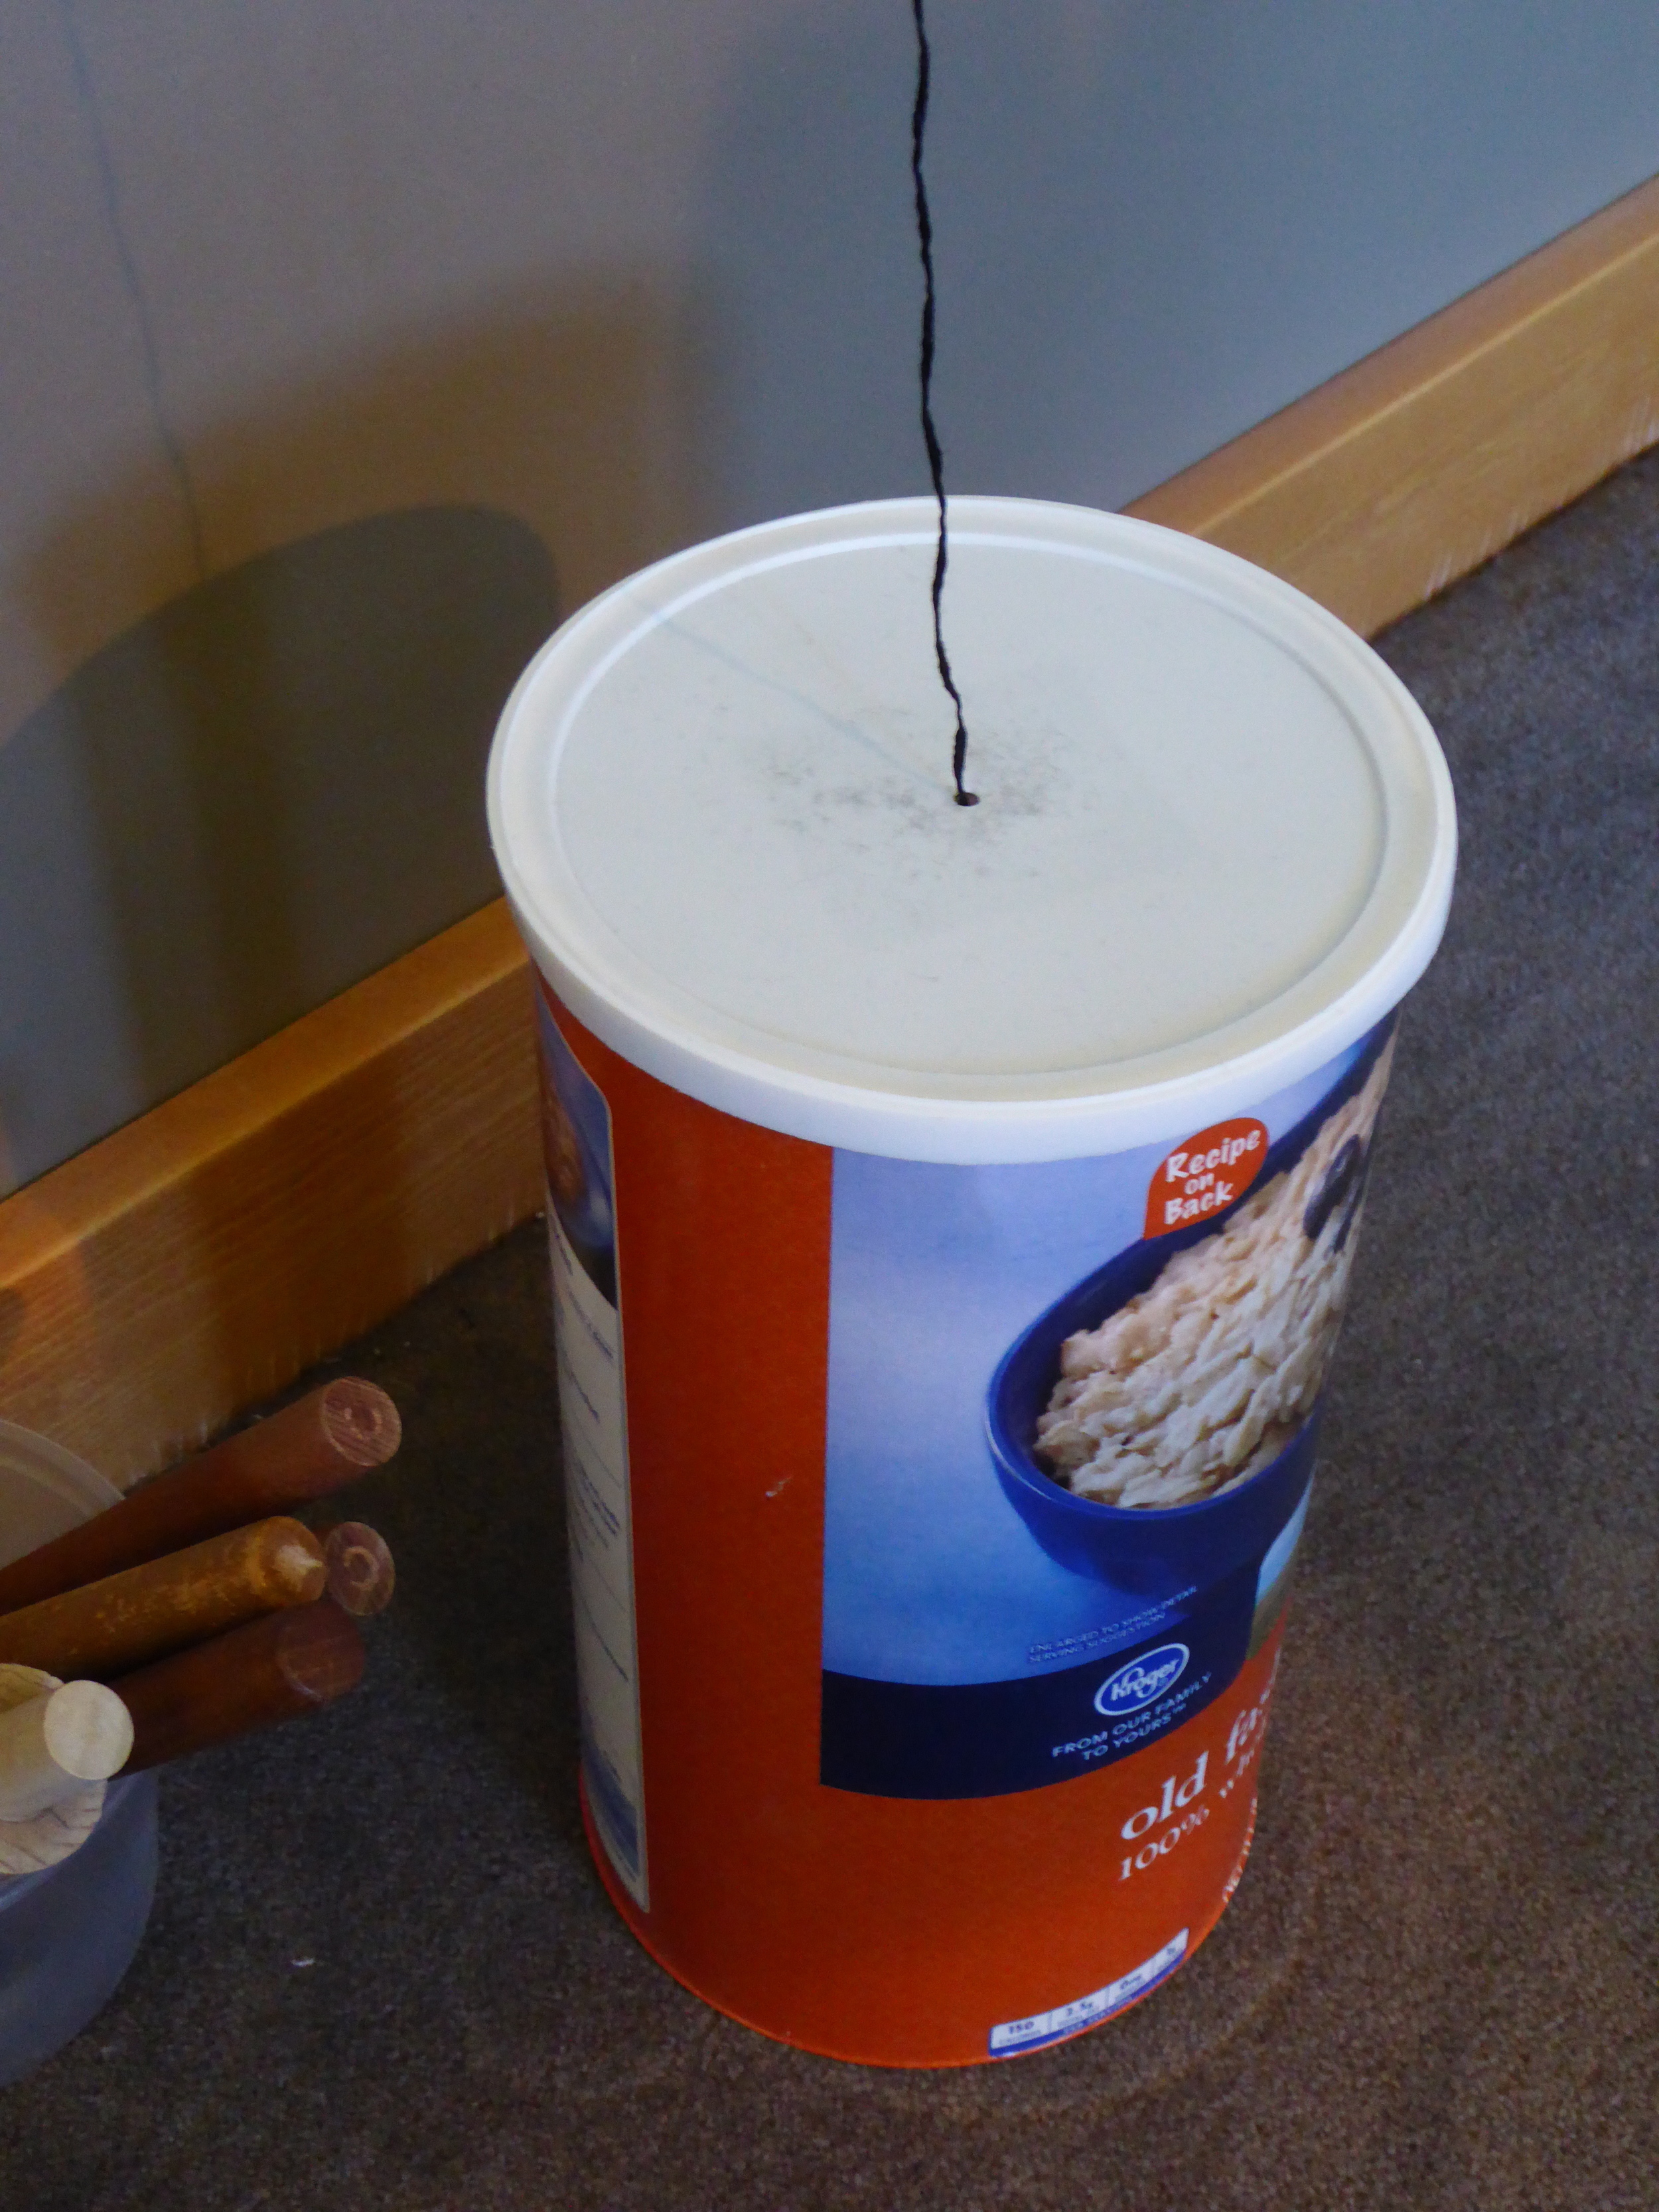
Richard uses an old oatmeal container to hold the cone of yarn. Why? The hole in the top regulates the yarn as it goes through the fingertips. Without this regulation, the yarn would flail about coming off the cone, making the fingertip hold a bit problematic. So what? This is the first of four chances to catch knots in the yarn. We never have a cone of yarn without knots--as in, never/ever. Why the knots? We have no idea. We do not see the point of introducing knots. In our view, if a yarn breaks going onto the cone, the manufacturer should start a new cone. Knots by accident? Really? This bamboo yarn is bloody difficult to snap. You have to work at it; might cut your finger in the process. Poor equipment? Get better equipment. Poorly adjusted equipment? Adjust the equipment. Inept employees? Either train or cashier. (Yes, this is a sore spot with us.) Back to the fingertip bit: as the yarn passes through the thumb and index finger tip, almost all knots can be detected. We then cut out the knot, unwind the yarn back to the starting or ending peg, depending; tie on and continue. As much of a hassle as this is, it is way easier than fixing on the loom. BTW, our second chance to catch knots is on the warping board. Sometimes the eye, almost without trying, will catch that irregularity amongst the lines of yarn. (Edmund Burke would be proud.) What's the big deal with the knots? A: they look ugly in the woven piece; B: they are pretty much sure to pop in the finishing process, making an irreparable gap, making an unsellable product. Plus, if they don't pop, they still look ugly.

Here you can see how there is an "X", aka the lease cross. This means there is one thread is going up while on its return it will be on the bottom of this "X". If you have ever faked down a line on a deck so it can play out quickly with no chance of catching a loop, this is a roughly similar concept. Richard does it this way and it makes for a neater warp, easier to wind onto the loom--a modest investment in mental health.
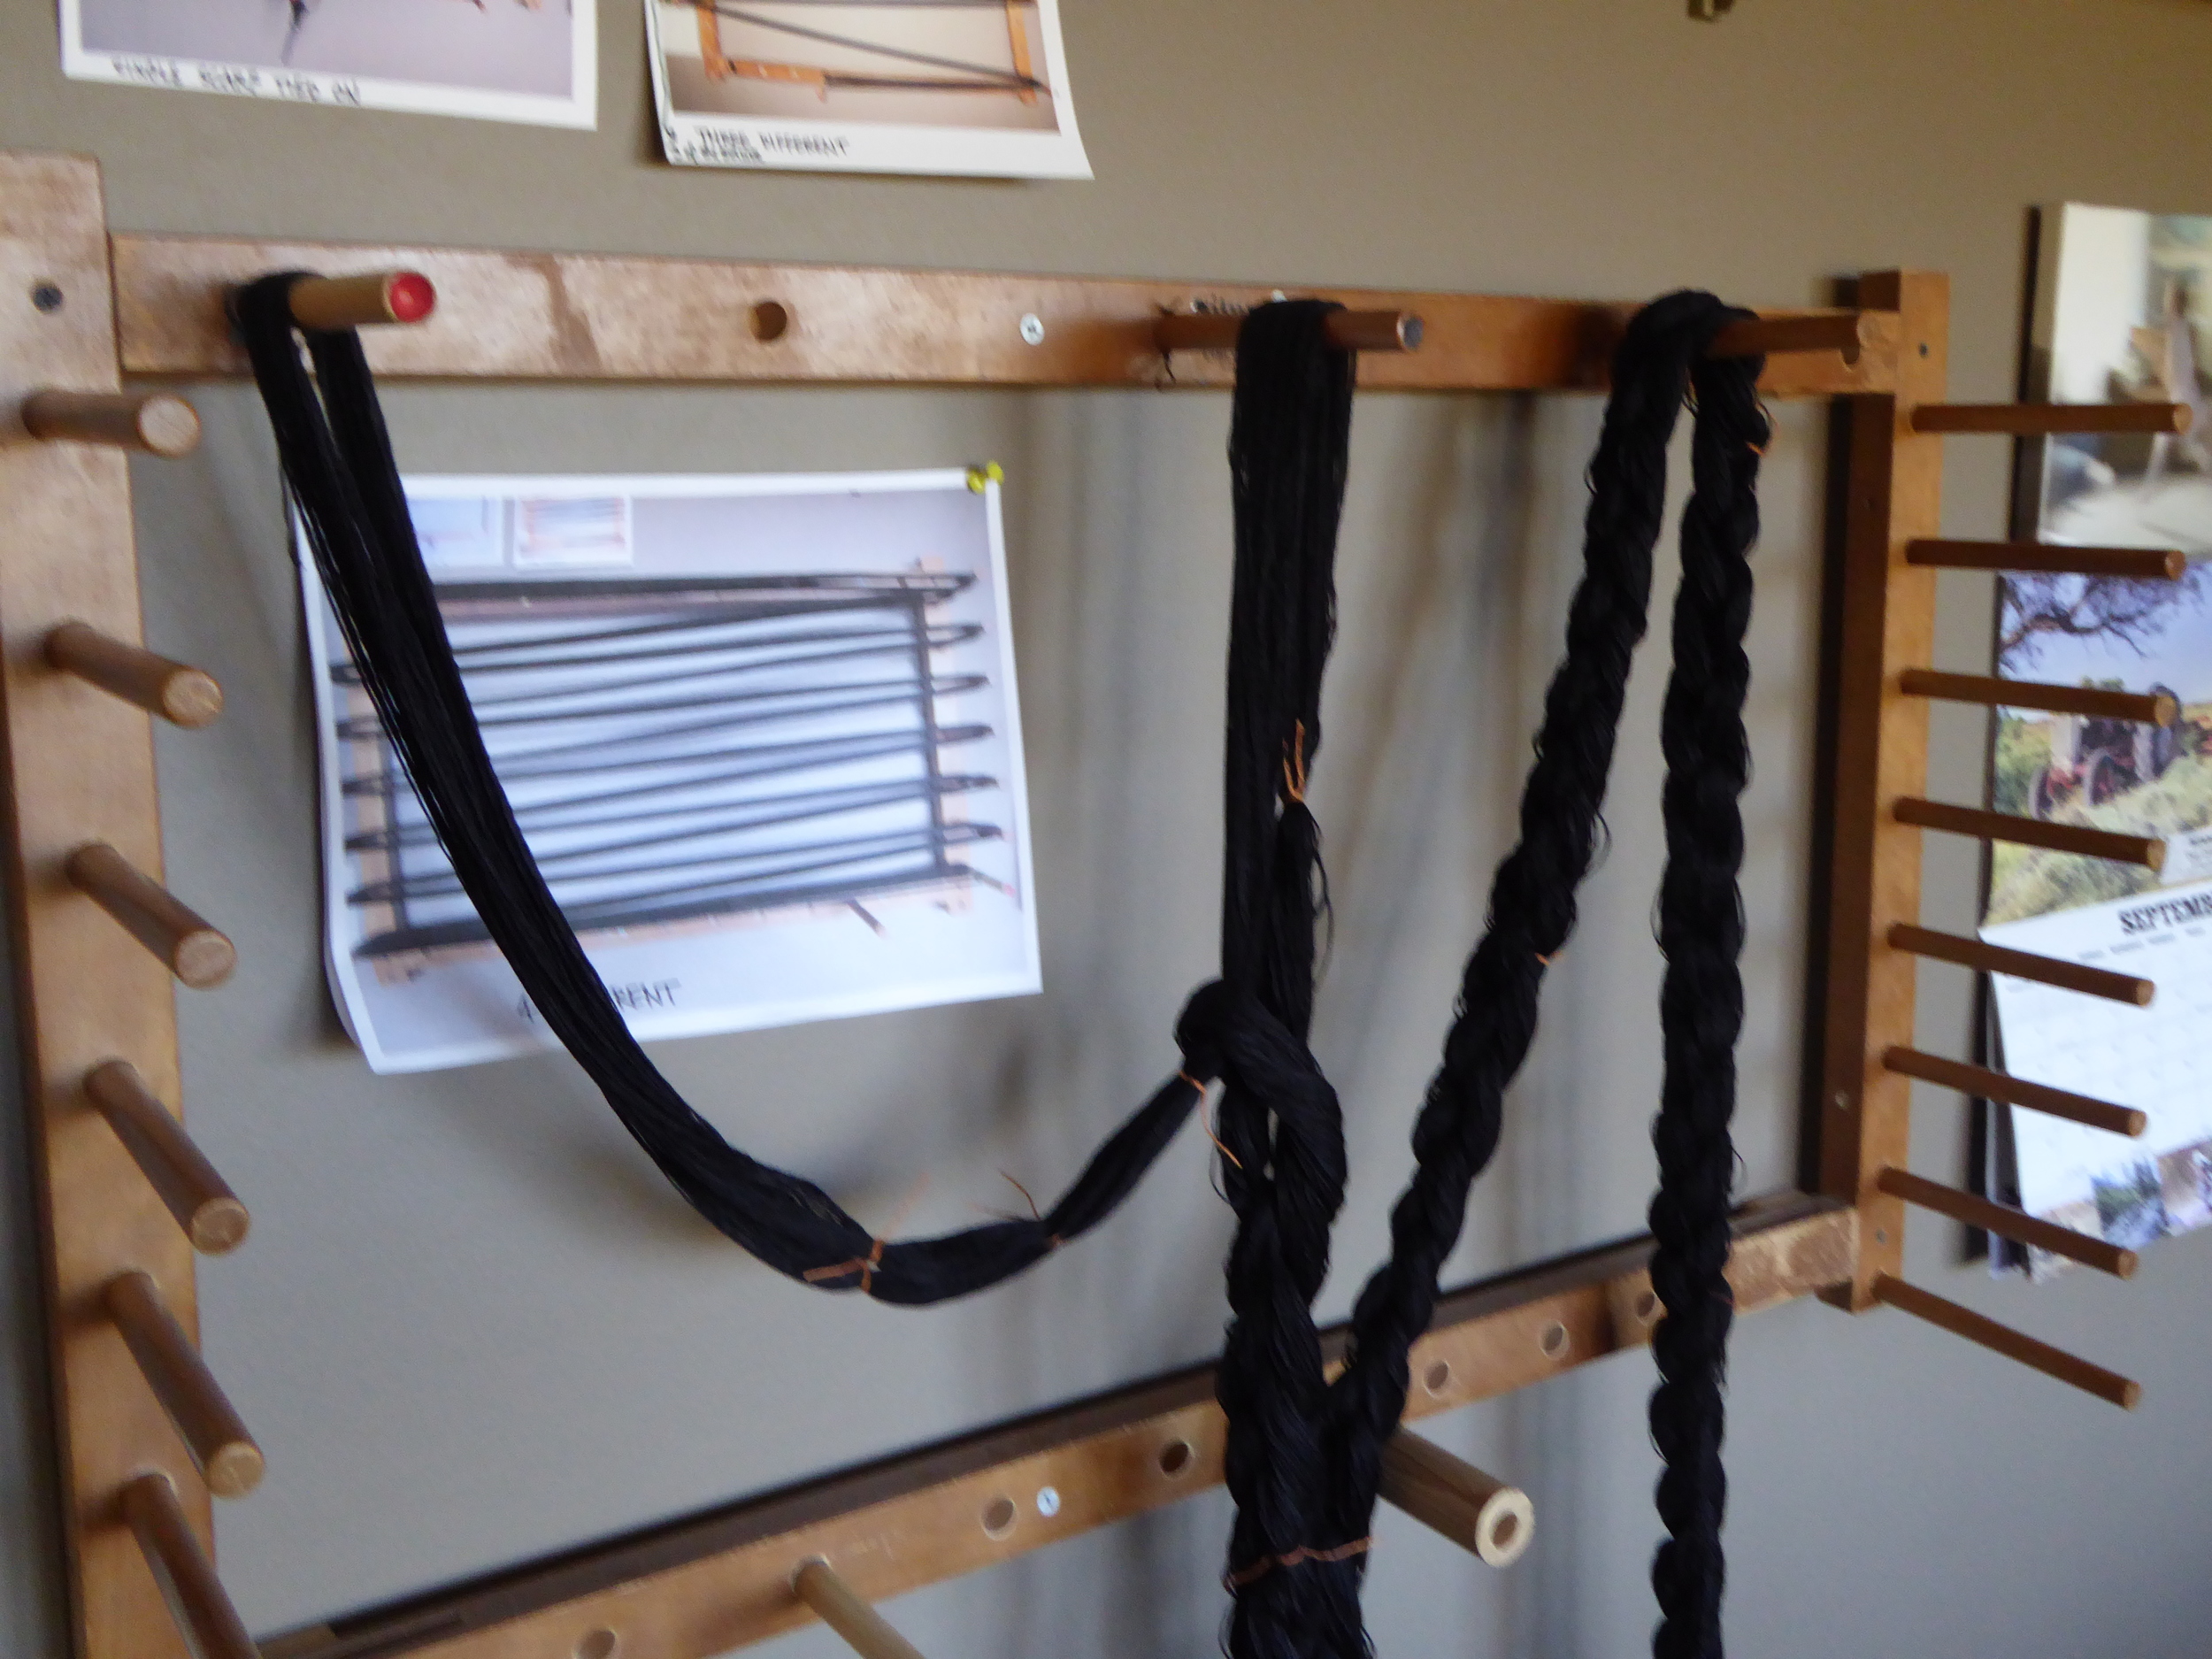
The black warp has been wound, pulled off all but the first peg, and chained up. The chain is merely a slip-knot, in a slip-knot, in a slip-knot (bight in a bight, in a bight, etc.). The only point of this is to keep the individual yarns copacetic with one another. If even one end (yarn thread) gets seriously out of whack with its buds, a nightmare ensues trying to wind onto the loom. Again: small precaution = big mental health payoff. BTW: some fun facts for you numbers fans: The chain you see here is just for the black ends, of which there are 148, each 498" long. Total? About 1.16 mi. of yarn. Add in the color ends, and the total warp is about 1.9 mi. In a single scarf, counting the weft yarn: about 3200 feet, more or less.

A quick snip on the other (beginning) end and it is ready to disappear with R, down into the catacombs. Part Two to follow.