sosumi weaving

handwoven textile design

It Has Been Far Too Long.

Pamela WhitlockComment

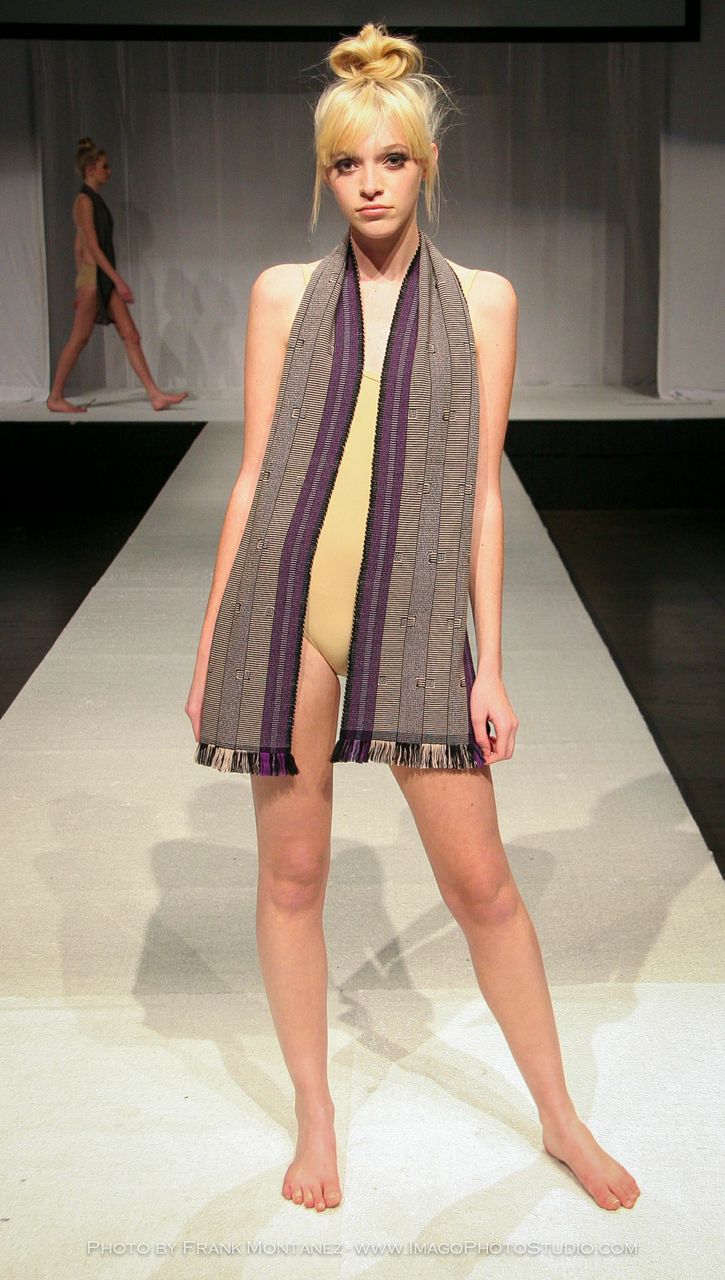
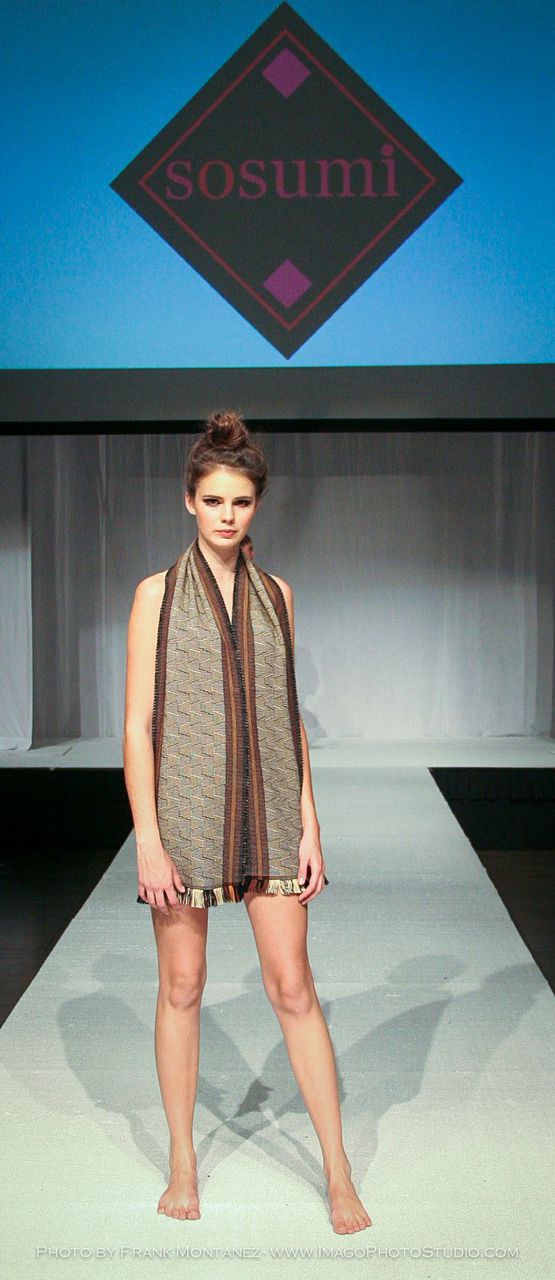
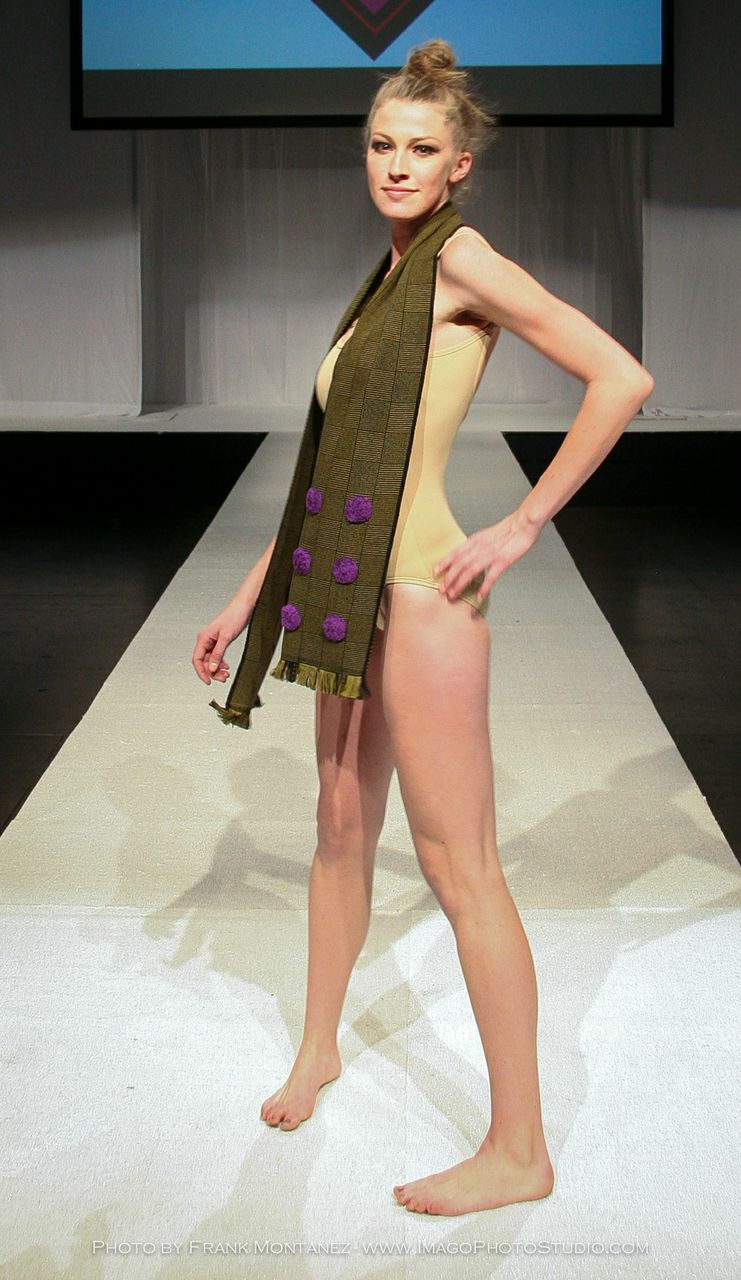
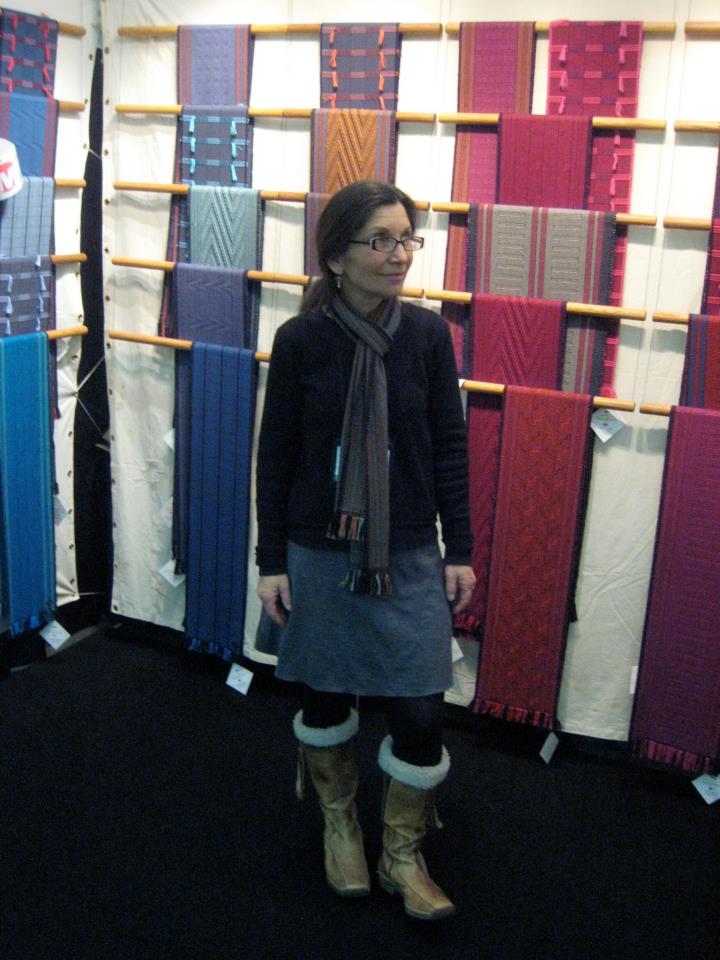
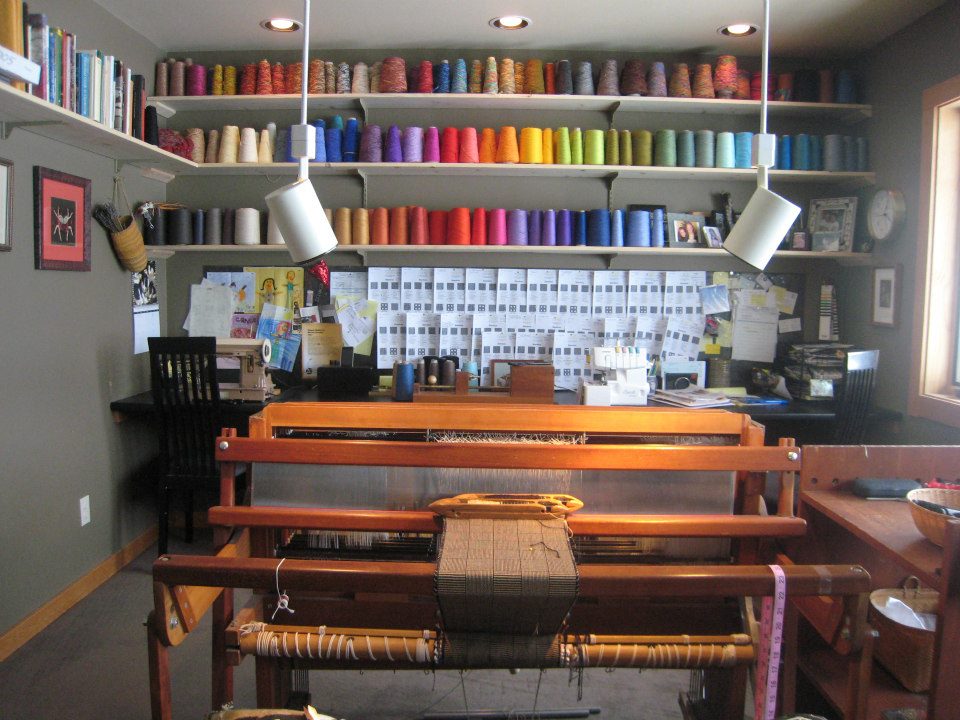
Sometimes life just gets busy, busy, busy. We have such a short window between the rush of Holiday orders and getting ready for the First Show of the Year. We basically have six weeks to come up with a new line for the new year. Yes, we do carry over patterns that everyone loves. Yes, we do carry over color combos that seem to work. But we always want to try new things, perhaps a totally new pattern or some wild and crazy color combination. Funny thing is that at the American Craft Council show a couple of weeks ago, when the show was open to the public (we had had two days of "to the trade only"), the wildest and craziest scarf went first. Bingo! (If you go onto the New Scarves 2016  page and scroll down to Deep V you will find one in Turquoise and Tangerine. Yep!) 

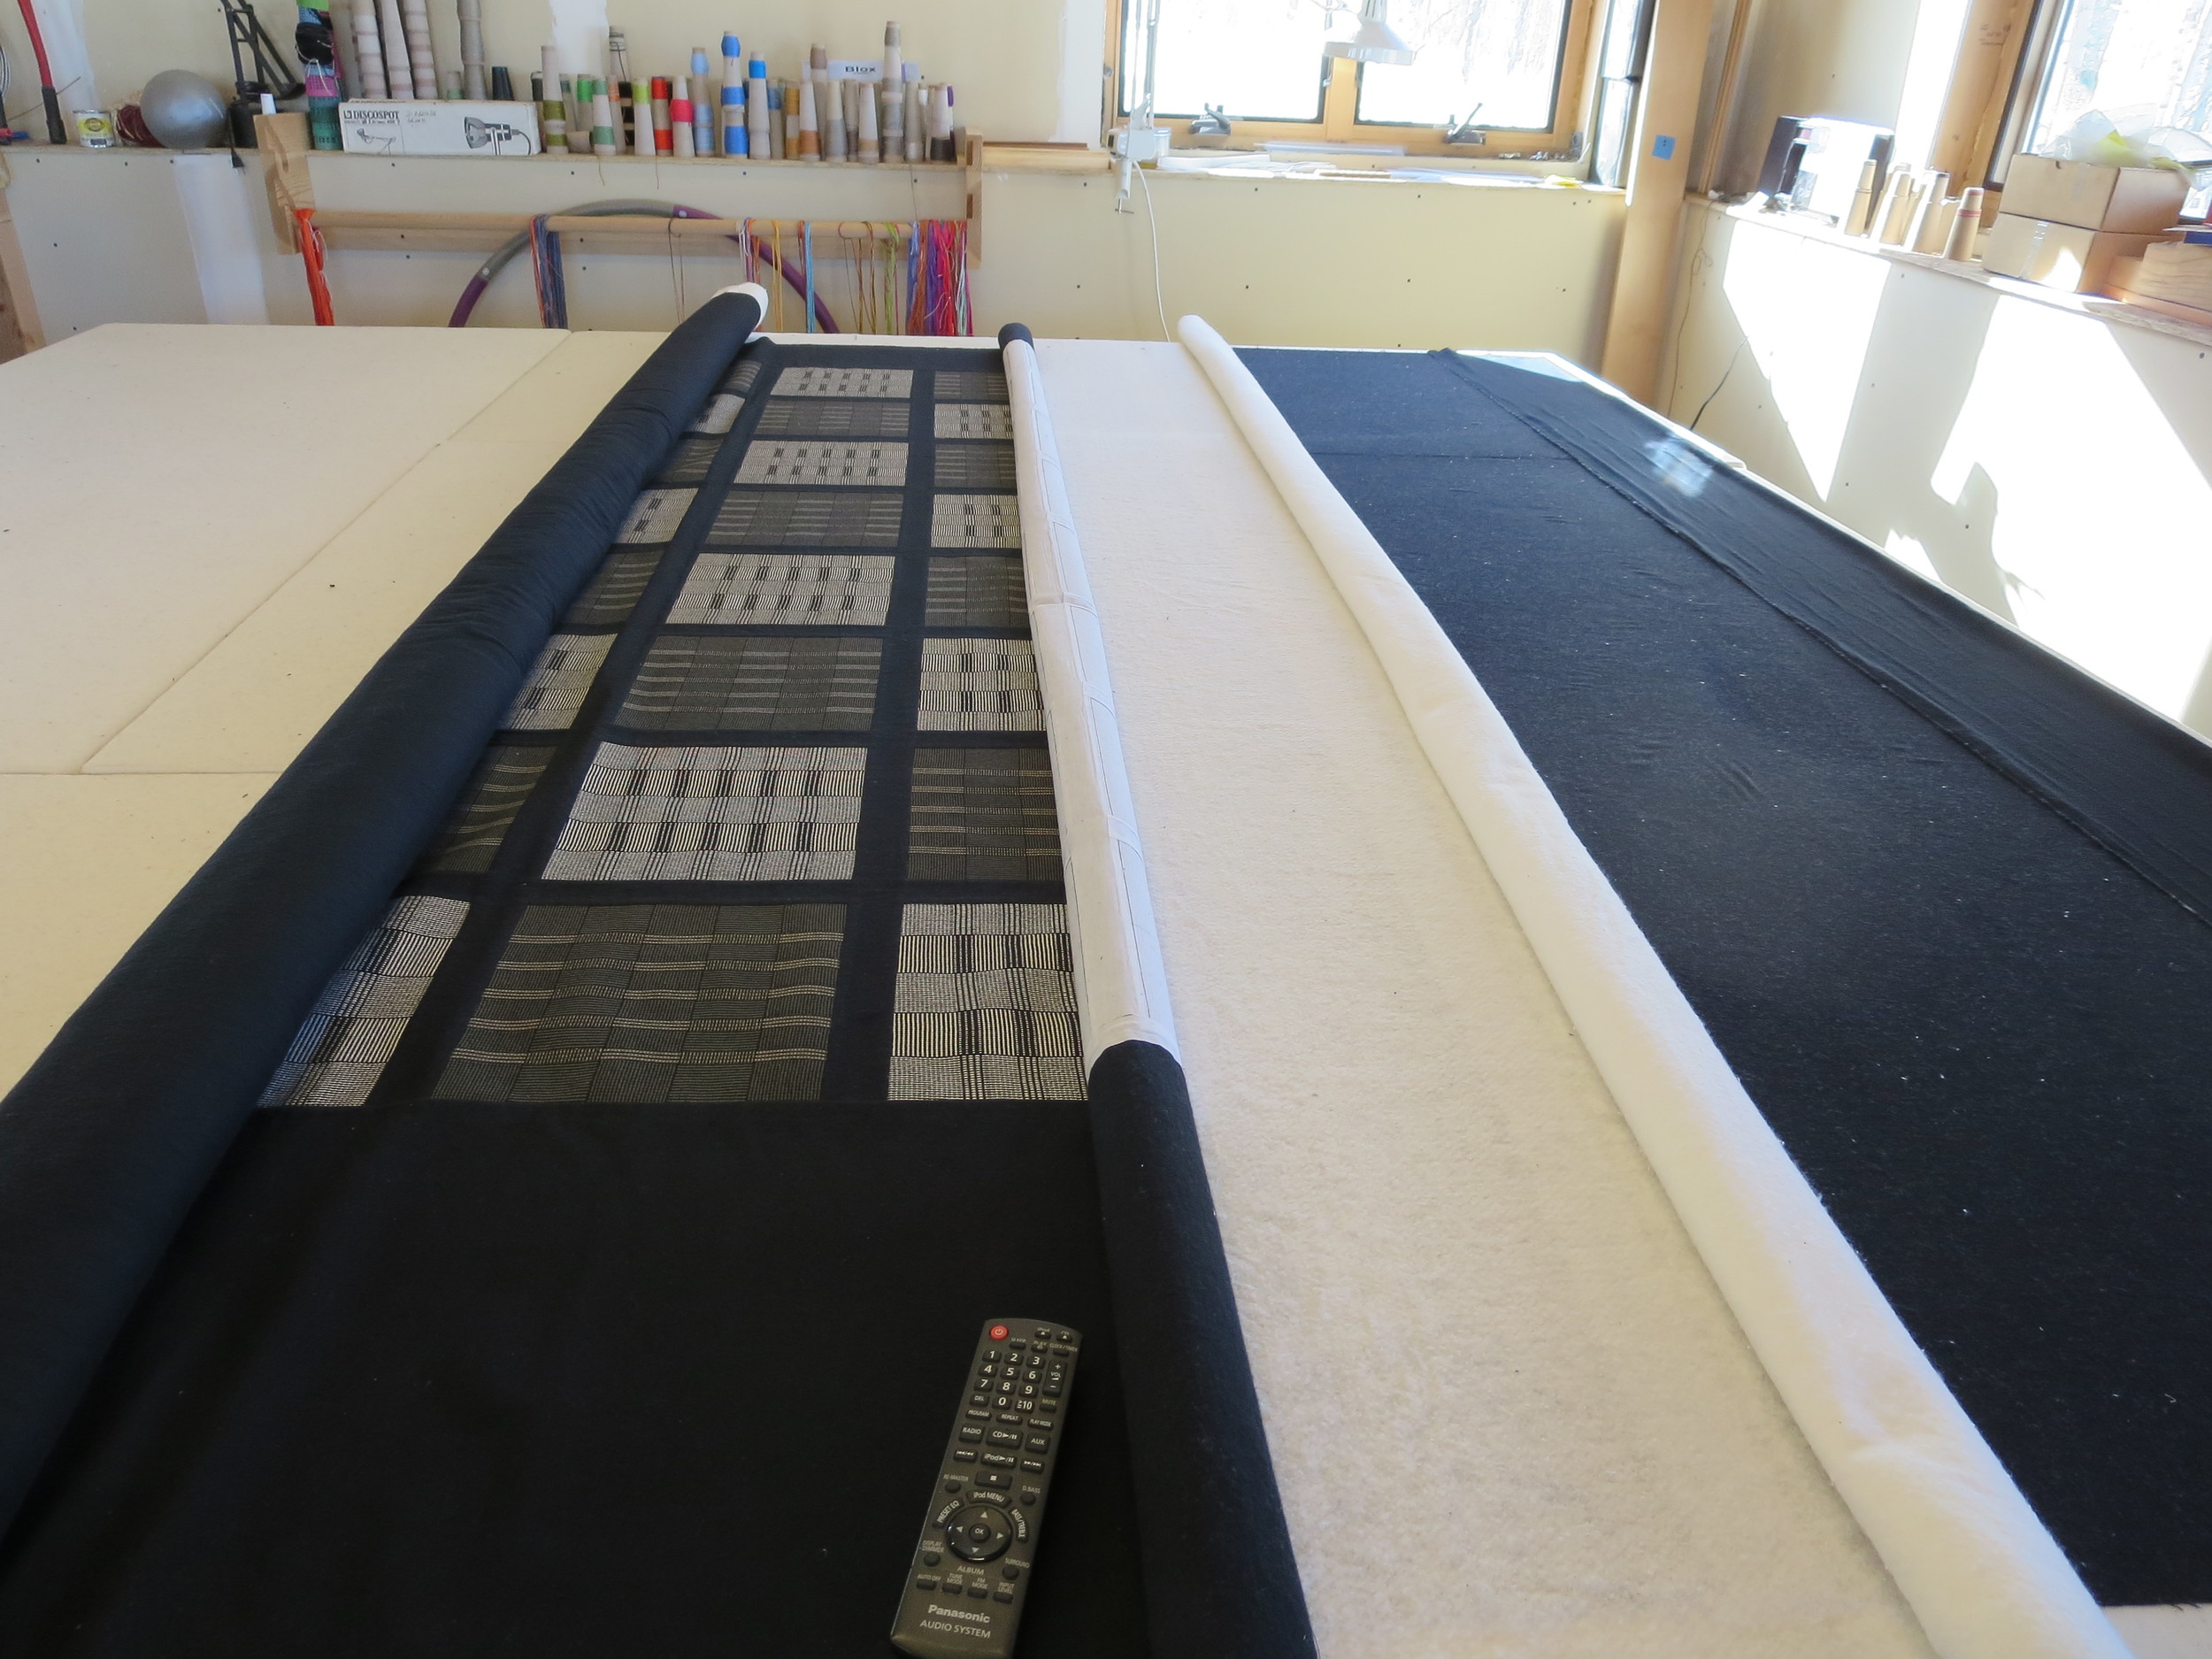
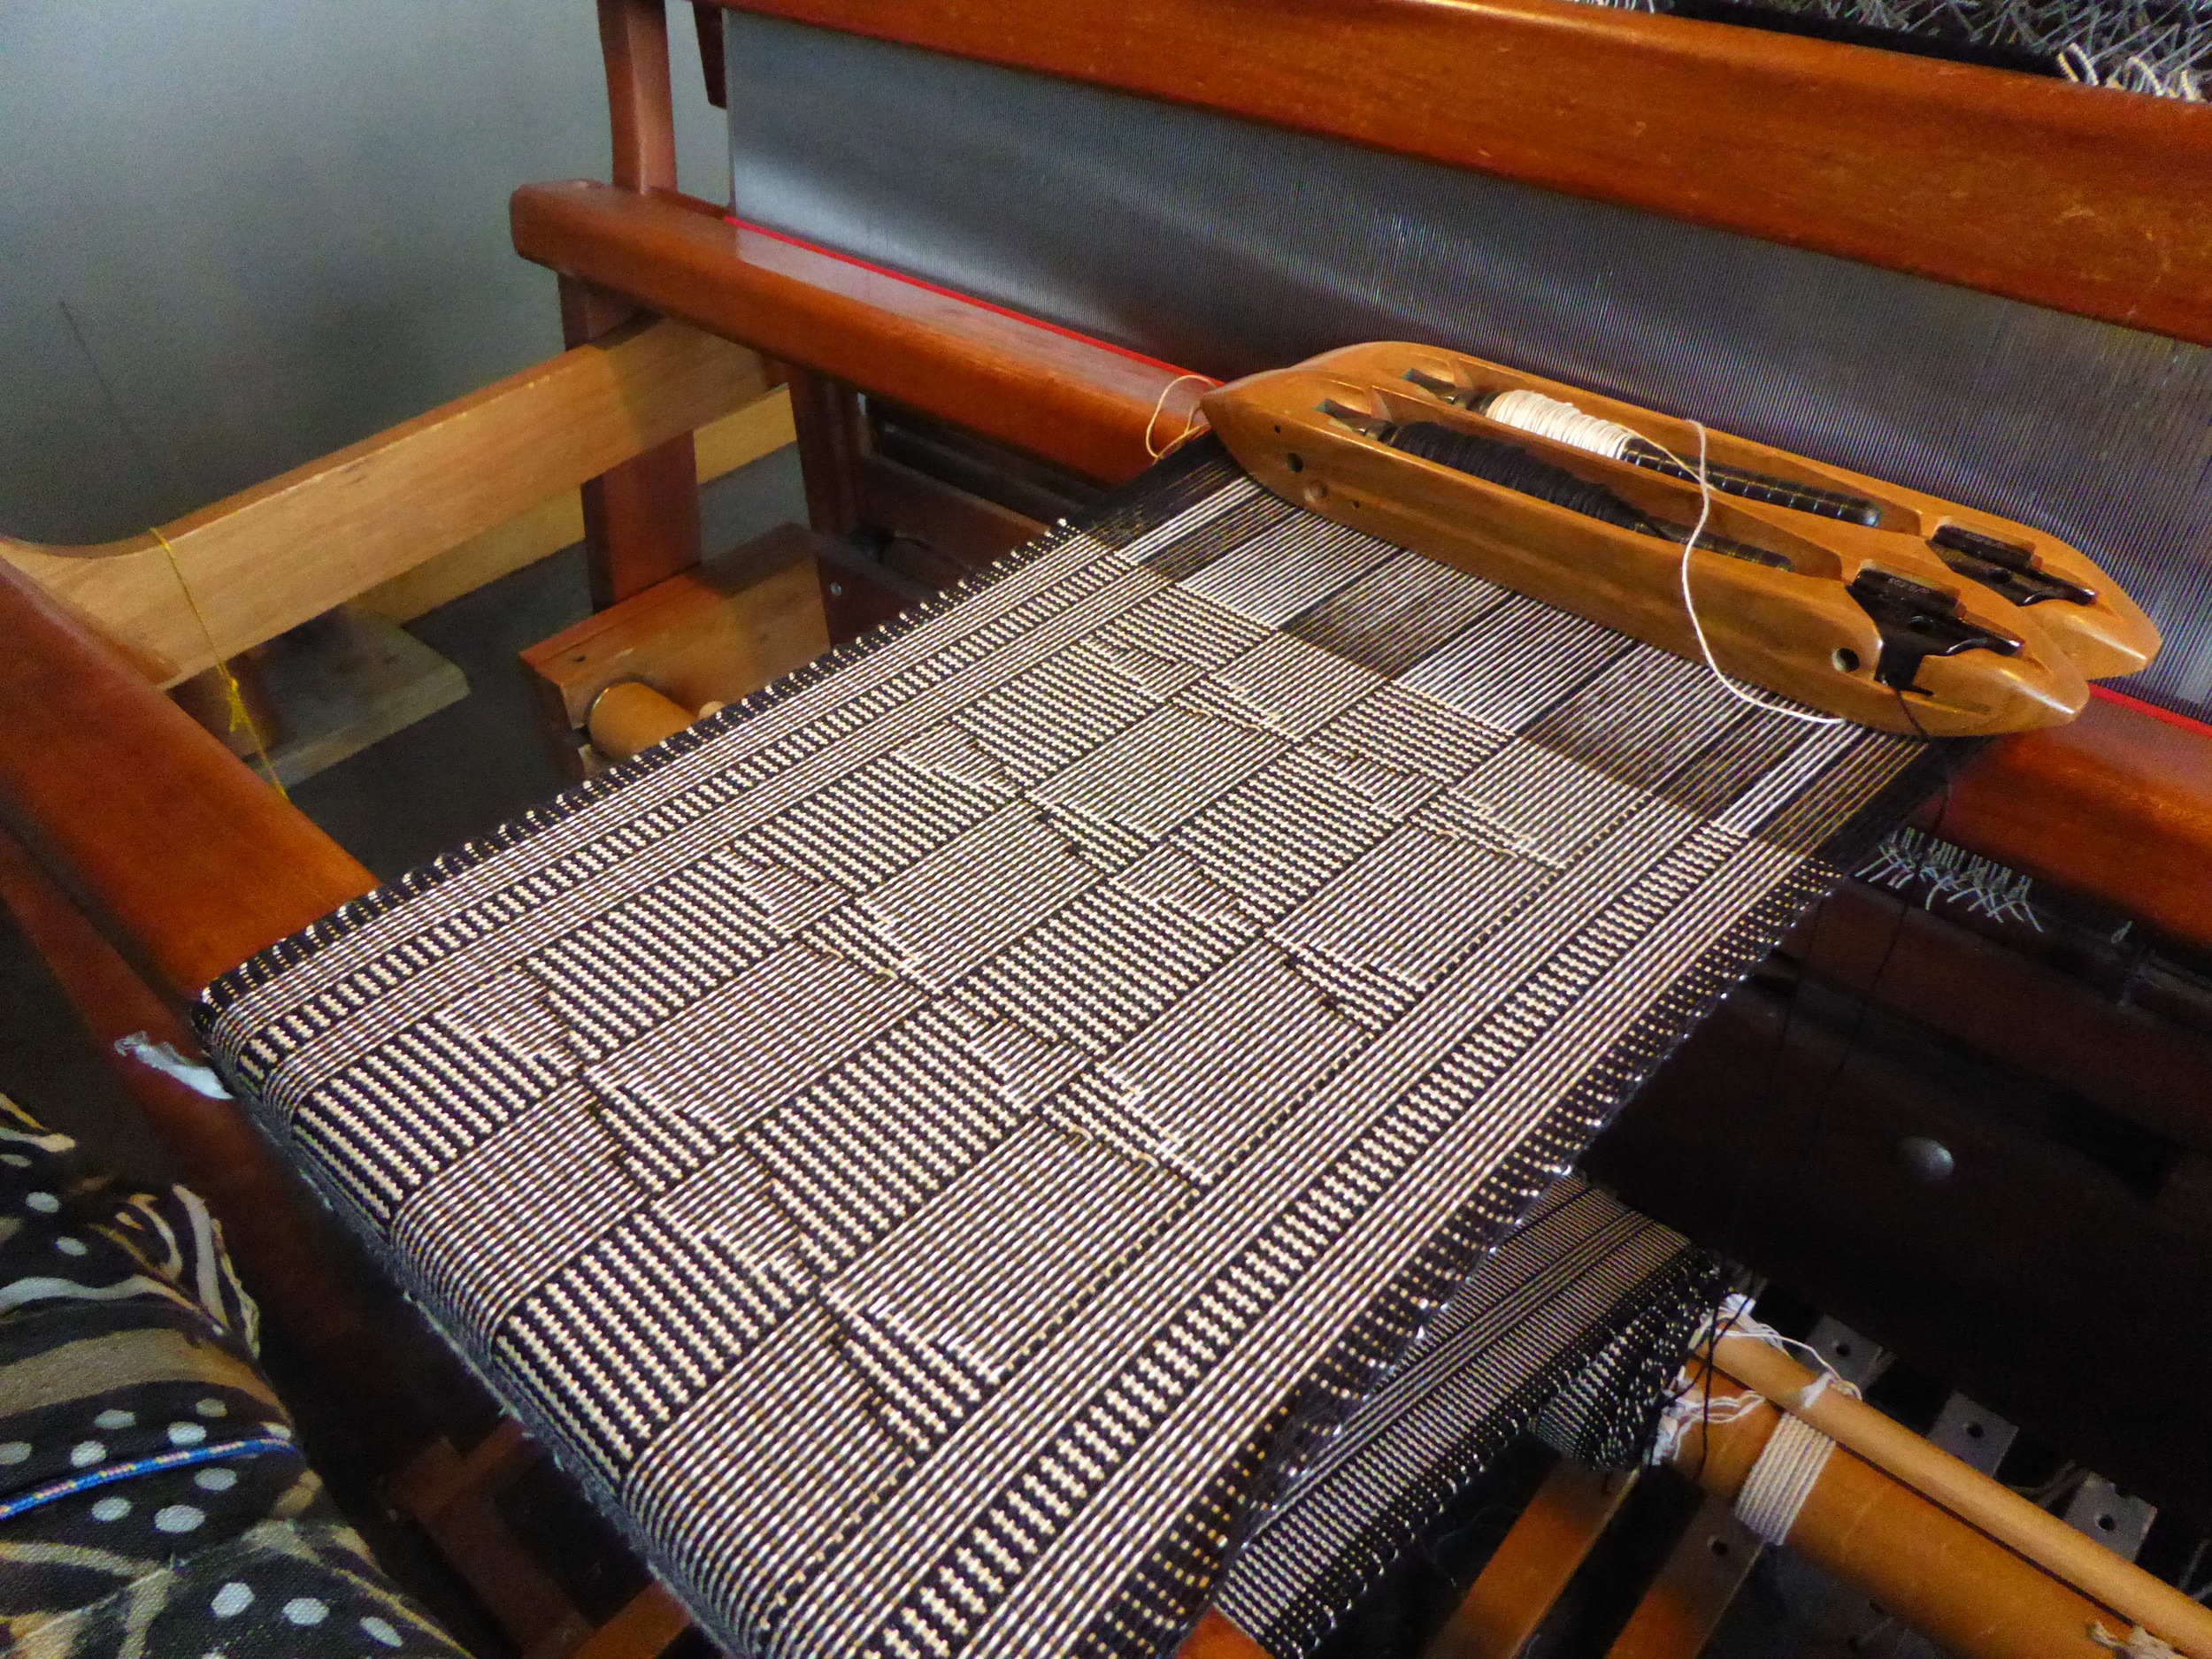
And besides getting ready for the show Richard received an order for a custom quilt (the design was called Wilder) for a client in Scottsdale,AZ. Just as he posted the series How To Make A Scarf, he plans to post an entry for How To Make A Quilt. Stay tuned as he now has an order for yet another custom quilt (this time a Crazy Quilt with a twist.) 

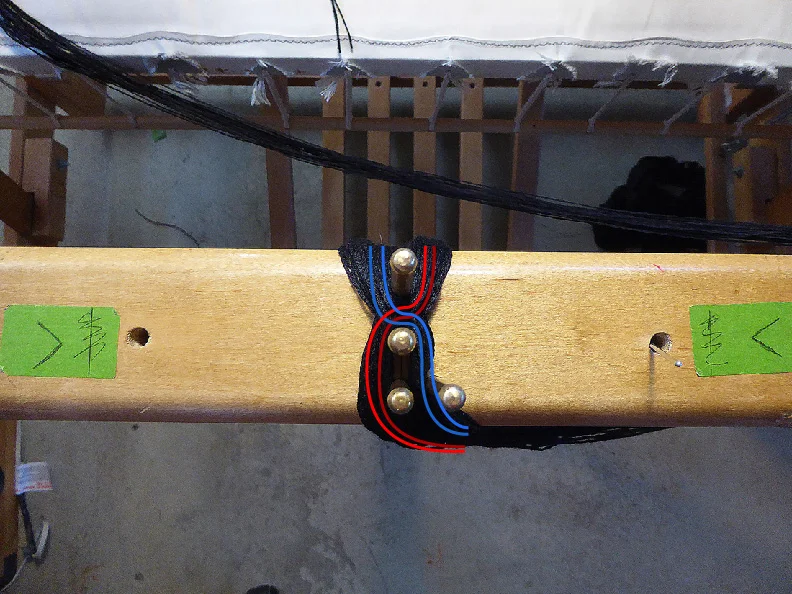
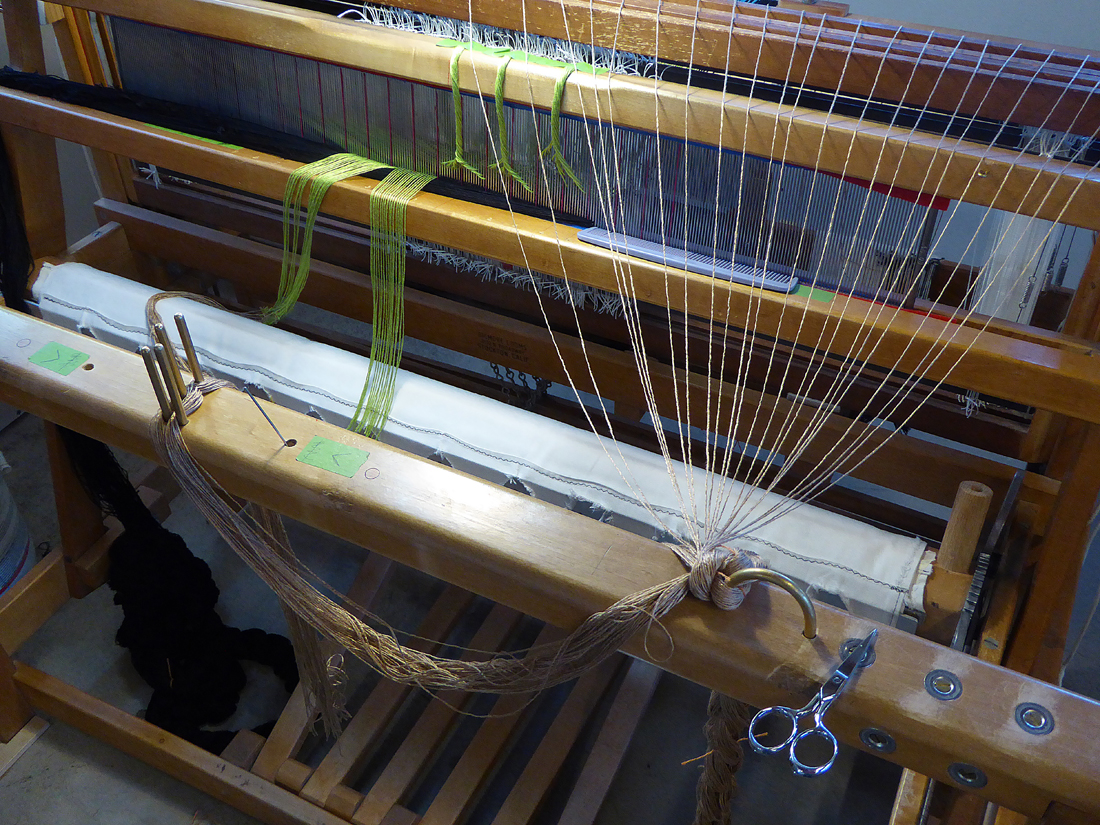
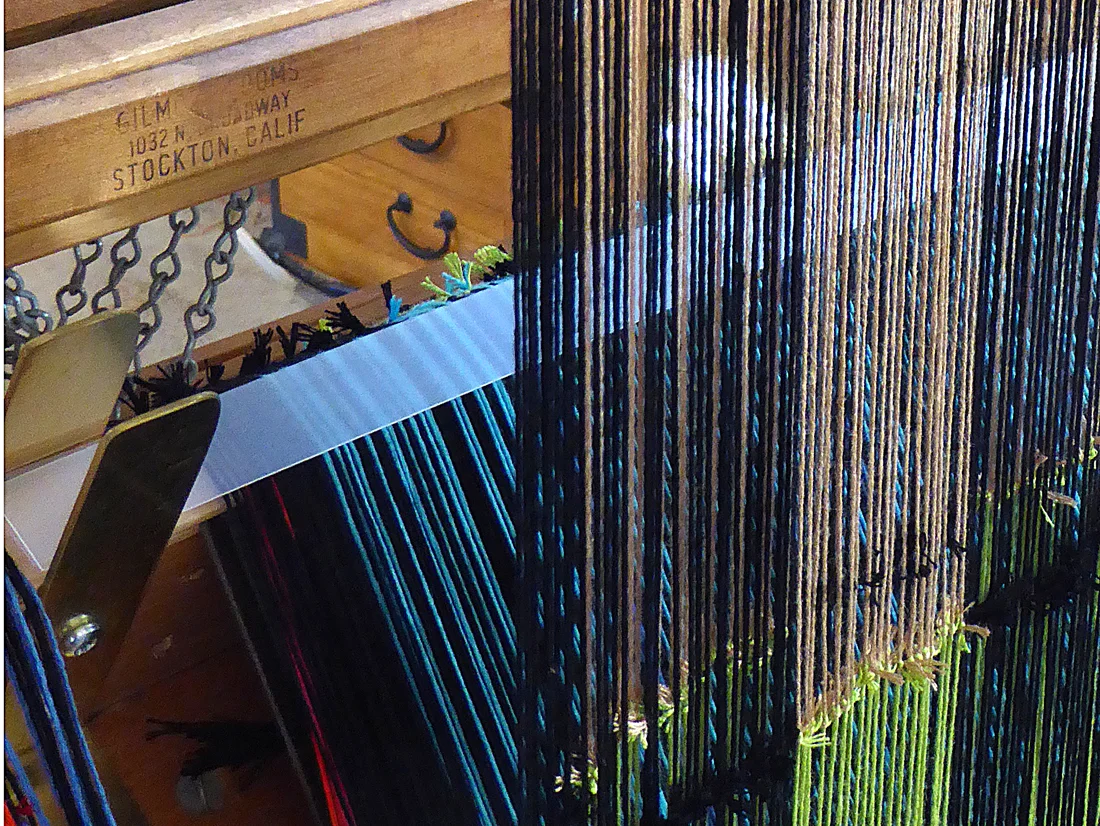
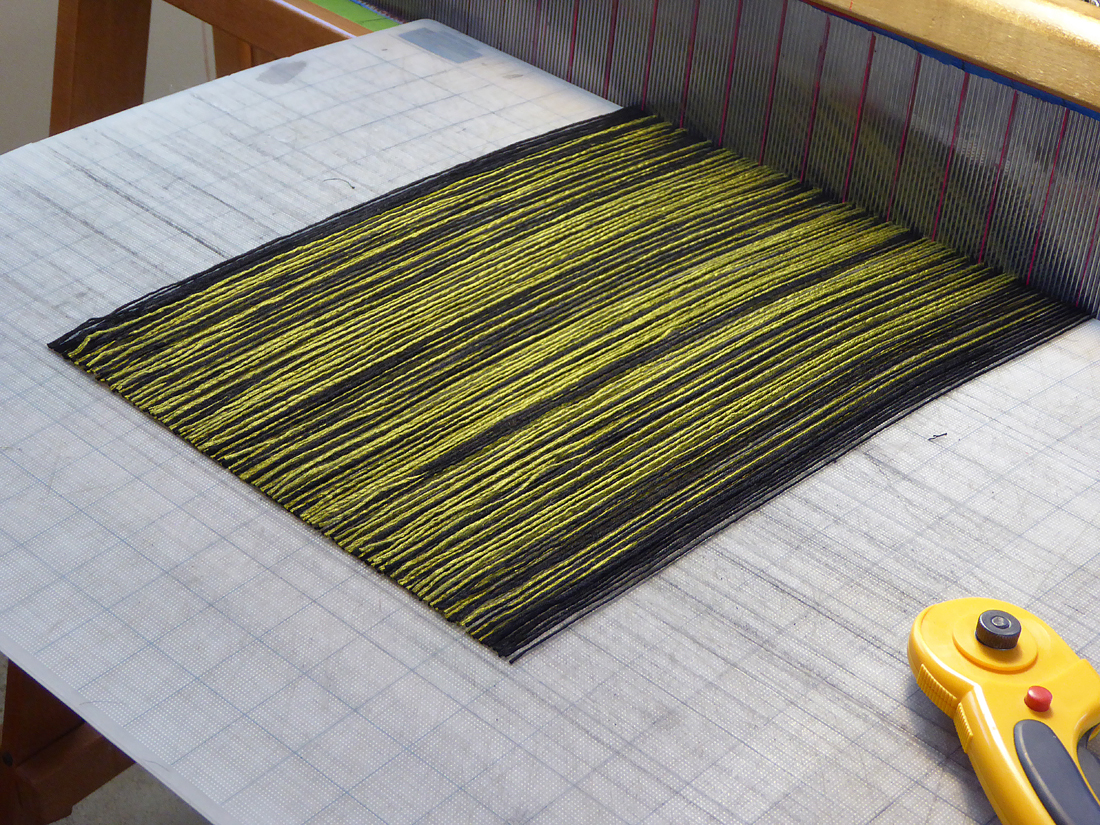
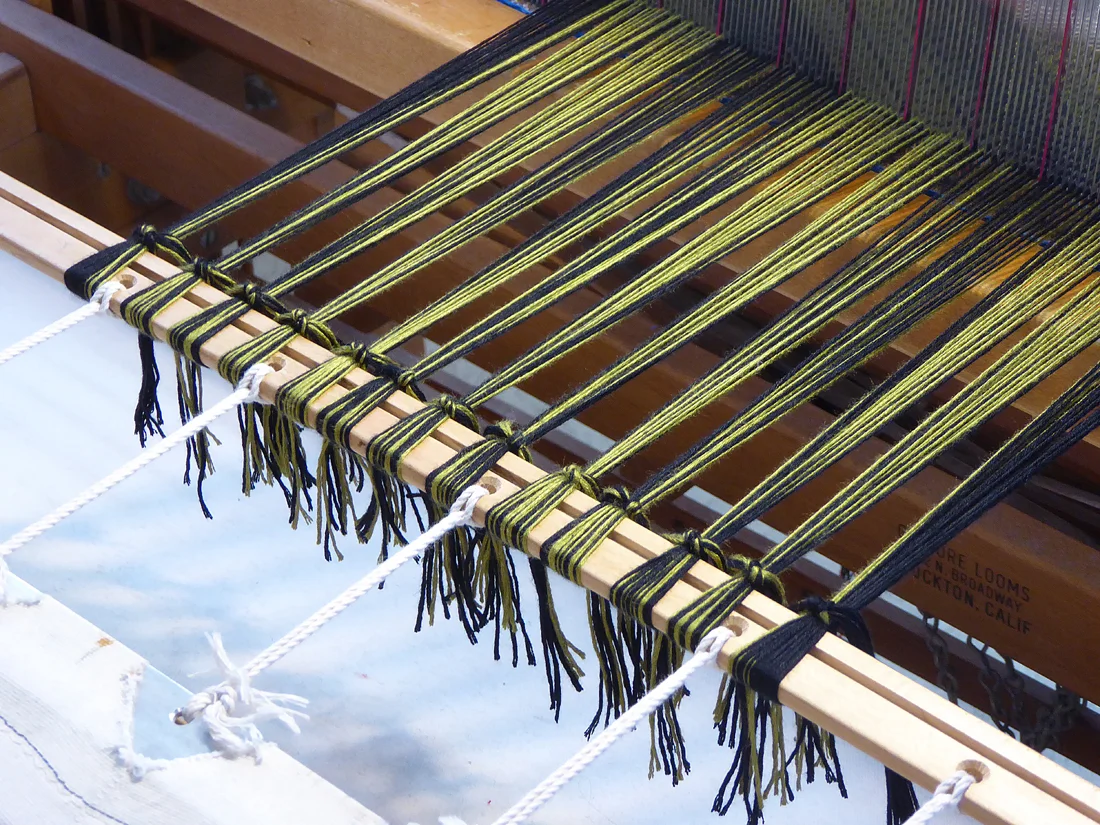
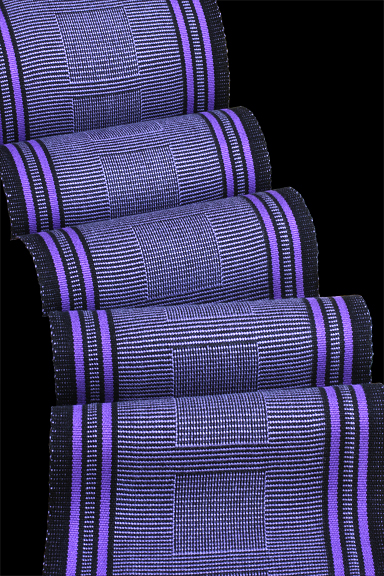
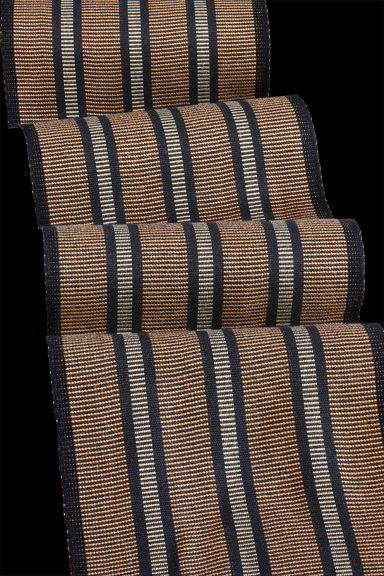
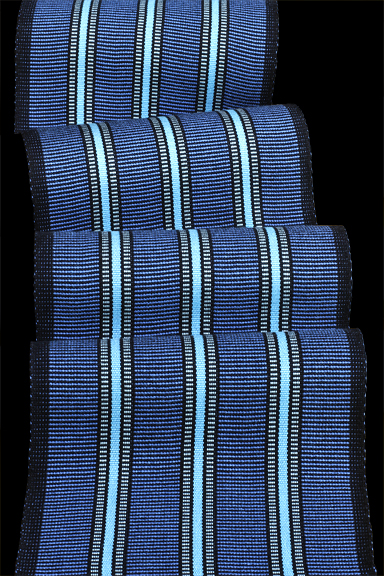
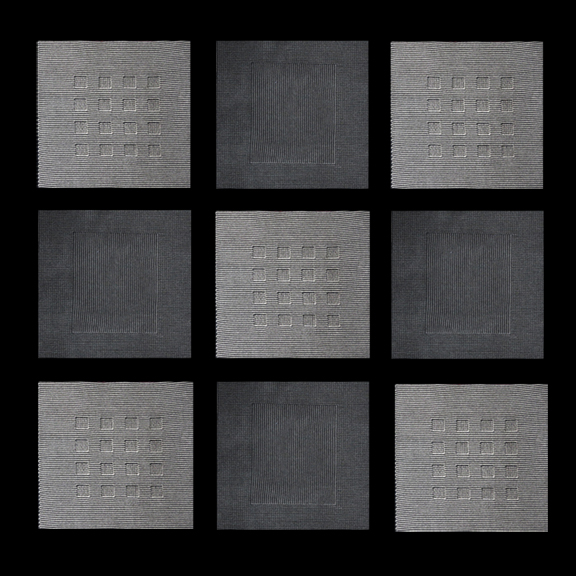
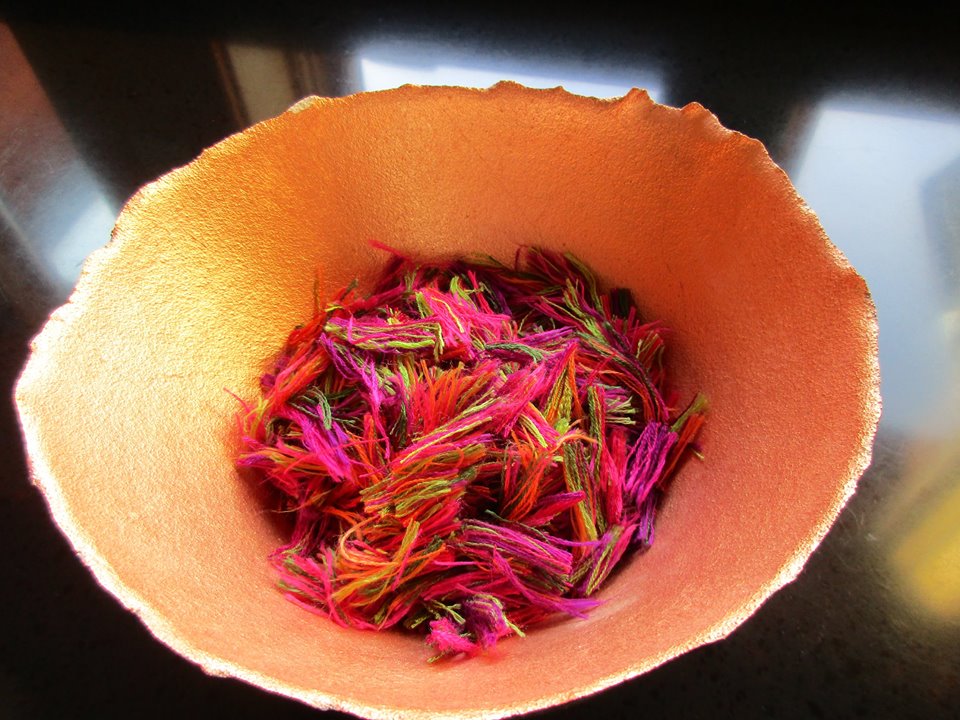
Scarf orders have been received with more coming in. Hoping for a great year. And if you are wondering what the above photo is....after the Africa scarves are woven the little tassels need to be trimmed. It made for a pretty composition.

Because It Is TBT

Pamela Whitlock1 Comment


Today is TBT so we thought we would add some photos that were taken about a year ago. We were part of a new show put on by the team that produce Cherry Creek Arts Festival. One of the big events at this show was a "fashion show". Of course we wanted to participate! What we didn't know was that we were supposed to provide everything for the models to wear with our scarves. Lucky for us that Mondo from Project Runway allowed our models to use his bodysuits since he was also participating in the show. We suggested to the models that since they were barely dressed under our scarves that perhaps they would also like to remove their shoes. Here you go......

The Beginning Of A Quilt

Pamela WhitlockComment

Just a quick entry to show how a quilt is made....very much Part One. Richard has woven the fabric needed for a specially ordered quilt for a client in Scottsdale. Here's what a pile of cloth looks like after it has been hemmed and before it goes into the washer and dryer. 

It Has Been Way Too Long

Pamela WhitlockComment

Shows, sickness, and holidays have a way of changing routines. It has been way too long since the last post we made back in October. We are now into our long and deep winter. Days are much shorter. The snow that is on the ground now will be with us until the thaw sometime in April. Or May. It is so dark in the morning we rarely get up before 6 am. Time to hibernate? Nah, not us. These are the days that bring us new special orders. Hanukkah (soon!) and then Christmas.... it is always a busy time for us. Richard is building a client a quilt with a new design that we haven't used in a quilt before. We think this should be a real beauty. Pamela is in charge of those special orders and will then begin working on ideas for the 2016 line. It is a very satisfying time.

When she isn't weaving you will find her in the kitchen cooking or baking. Yesterday she made hot fudge sauce for Richard and finally tried her hand at making caramel sauce from scratch for the first time. Success!

Today she made pizza dough and "kitchen sink brownies".

And in case you want to get a sense of what our booth looks like at shows we are posting this one with Pamela in it from the American Craft Council show in Baltimore.


How To Make A Scarf: Part Two

Pamela WhitlockComment

Here is the chain, its individual threads beginning to be tied onto the ends of the previous warp.  Black threads go on first.  The chain is captured on the front beam by an upside down U-shaped hook, its left leg pinning through one of the chain's bights.  From here it goes over to the left, to the vertical pins that maintain the lease cross.


Here is a close-up of the lease cross, the graphic lines showing how the threads cross over one another, keeping each individual thread untangled from the next.  When the warp is combed out just before actually winding it onto the back beam, this detail right here, right now, reduces the hassle-factor BIG TIME.  Small effort up front equals big payoff later on (weaving is chock full of life lessons).


Here is the bamboo yarn for the body color wound onto the warping board.


Here is the body color being tied on.  The black threads (or ends) are all pulled over to the left to get them out of the way.


The warp, both black and body color, is beginning to go over the breast beam and through the reed.  The left half has been literally combed out, enabling it to run freely through the reed and the heddles.  The right half is still as-is, just as it pulls out of the two chains of warp yarn.


Here is the warp as seen from the back side, emerging from the heddles (the white, string-like things), and into the network of the lease sticks.  This gizmo is just a group of sanded dowels that make each thread go up-and-over, down-and-under, etc.  This makes for a consistent tension on each end as it's pulled over the back beam and down onto the warp beam.  Here is where you can see part of the unavoidable waste created by tying on new warps.  The new warp (which you cannot see yet) is tied onto the old green warp, which is in turn tied onto an even older blue warp. Eventually this leftover yarn will build up so much on the warp beam it will all have to be pulled back through, back-to-front, and cut off.  It looks really cool, but we have no idea what to do with it.  All the knots from all the tie-ons make it pretty much unweavable.


Here is the new tan warp coming through.  The regularity of the colors going through the lease sticks is a fairly good indication that the tie-on was done correctly.  It's not a sure thing, but odds are.... Also, this is the third of the four chances to Spot the Knot.  As the ends are pulled through, down, and around, sometimes the irregularity of a knot will be seen.  If a knot is spotted, R makes a note of its color, dent, and scarf number.  At the appropriate time in the weaving process, the flawed end will be cut and pulled, and a proper end put through in its place.  Yes, it's a hassle.  But the bamboo scarf comes out flawless.  You will never know; we won't tell.  (The fourth, and final, chance to Spot the Knot is during the weaving process.  If you see that bad boy coming at you, you have to splice in the repair.  It is a huge hassle, sucking up vast amounts of time, and it does make a short length of double-up yarn that is visible in the finished scarf.  It is not a flaw--a flaw would be a knot left in, barely visible, that would pop sooner or later--but it is an imperfection.  Structurally, the scarf is better off for the repair; but we prefer not to interrupt the clean, crisp geometry of our designs.  It's just an occasional peculiarity of the craft.  That's life.)


The new warp is coming down off the back beam and is about to be wound onto the warp beam.  The remains of numerous past warps are already on the warp beam; you can see the green one going on, the blue under it, a red under that, etc.  We be jammin'.


Here is a detail of the previous image.  Here's where R's practical OCD comes into play, for your benefit.  Pamela winds her warp on just-like-that, pretty as you please--no worries!  Not so much for R.  Here is what he has found he has to do to keep thread tensions all sama-sama.  The frosty thing is a strip of polycarbonate film.  It is there to keep any thread from worming its way down amongst its mates, bollixing up the tension in the process.  There are, truth be told, many irregularities that will, literally, come out in the wash.  But a major tension variation?  Nope.  See?: OCD has an upside.


The warp going on will have two colors of scarves on it: tan and green.  Here we have come to the end of the tan ends.  These ends need to be evened up before we wind and tie on the green body color.  We're just going to take a little off the end.  This won't hurt a bit.


Easy-peasy.  BTW: the cutting mat is bridging between the breast beam and the shuttle rail of the beater.  The mat is sitting right on top of all the black ends.


Here is the warp's second color wound onto the warping board.  We'll chain it up, cut it off, tie it on.


Here is the very end of the entire warp, including the black ends.  Again, we have to trim all of these off in order to complete the front tie-on.


Well, there you have it.  Now you can see why we put in a fudge-factor when winding the black warp (and colors too, to some extent).  The very shortest thread at the end determines the maximum cut-off length of the entire warp.  Generally speaking, pandering to the least is not a good plan; but here it is unavoidable--hence the early workaround to compensate for the less-than-optimal warping board.


Here the warp is being tied onto the front.  P grabs and ties--and has no problem with that; R likes equal-number groups.  Quelle suprise!  


Here we are, all tied on, with the bundles as evenly tensioned as practicable.


Ready to weave--sort of.  Just past the tie-on knots, you see some junk yarn woven in.  The point of this is twofold: even out the spacing of the ends, spreading them out from their tie-on bundles; keep this end of the warp from falling apart when between being taken off the loom and end-stitched. Past the junk yarn R has put in a couple of polycarbonate spacers.  This creates a small length of unwoven fabric which will eventually become the bamboo scarf's fringe.  P uses the traditional torn sheeting for this purpose.  R?  Not happenin'.

As stated: ready to weave, really.  Throw shuttle from right to left; beat.  Repeat.  Throw shuttle from left to right; beat.  Repeat.  Repeat, entire, some hundreds of times and--Bob's your uncle!--a handwoven bamboo scarf!

How To Make A Scarf: Part One

Pamela WhitlockComment

We thought it would be interesting for you, the reader, to see how a scarf is made.  This is, in effect, an answer to the question: How long does it take to weave a scarf?  We reply that the weaving is almost the least of it.  We know that is not an especially lnformative answer.  We hope this photo essay will give you a better idea of what goes into the final result.  BTW, Richard, ever the Type A to the nth degree, is the neater of the two of us so you will see how he does it. (Pamela works a little more "freely"....)

This is where it all begins, on the warping board.  Richard has determined how long the warp needs to be.  The warp threads are the ones that run longitudinally, from one end of the scarf to the other end.  To determine the length, various factors figure in: the number of scarves on the warp (usually five), the waste yarn tying up at both ends, the waste yarn between color changes, the length lost in "take up" (take up is the length lost because a given warp thread does not just go straight from one end to the other; it goes over a weft thread, under the next weft thread, over the next, etc.), and the woven length that will be lost to shrinkage in the finishing process.  By guesstimates and empirical trials, R has created a formula/form for figuring out the necessary length (if we were a larger corporation we would call this an algorithm).  

Bottom line: the warp threads need to be 498" (41' 6") long.  Yes, the fiberglass tape is showing 41' 10".  Why?  Why fiberglass?  It's more flexible than metal, but does not stretch.  Why the extra few inches?  This less-than-optimal warping board does not make all threads (or "ends") equal.  The last turns to go on are considerably shorter than the first ones.  A little fudging here will reduce the hassle-factor later, especially when we run up to a color change.  You'll see.

This is the end peg on the warping board.  The beginning, or starting, peg is in the upper left hand corner of the warping board.  A given warp yarn starts at the beginning, goes to the upper right hand peg, comes down to the next peg on the left side, then over to the next on the right side, etc.  When the length of yarn gets down to the end peg, it is wrapped around (making a U-turn, in effect) then retraces its path back up to the starting peg.  One such roundtrip loop--or "turn"--makes two warp yarns.  This image shows three turns/six warp yarns.

To quote Dirty Harry, "A man's got to know his limitations"  There is no way R is going to keep count of turns in his head.  So: here is a practical expedient.  The turns on the end peg are grouped in convenient bundles: here are two groups of ten turns each (my friend ten?), one of five, and two units (which are waiting for three more, to make five, to be pushed together to make ten).  Easy-peasy: 27 turns/54 ends showing here.

Richard uses an old oatmeal container to hold the cone of yarn.  Why?  The hole in the top regulates the yarn as it goes through the fingertips.  Without this regulation, the yarn would flail about coming off the cone, making the fingertip hold a bit problematic.  So what?  This is the first of four chances to catch knots in the yarn.  We never have a cone of yarn without knots--as in, never/ever.  Why the knots?  We have no idea.  We do not see the point of introducing knots.  In our view, if a yarn breaks going onto the cone, the manufacturer should start a new cone.  Knots by accident?  Really?  This bamboo yarn is bloody difficult to snap.  You have to work at it; might cut your finger in the process.  Poor equipment?  Get better equipment.  Poorly adjusted equipment?  Adjust the equipment.  Inept employees?  Either train or cashier.  (Yes, this is a sore spot with us.)  Back to the fingertip bit: as the yarn passes through the thumb and index finger tip, almost all knots can be detected.  We then cut out the knot, unwind the yarn back to the starting or ending peg, depending; tie on and continue.  As much of a hassle as this is, it is way easier than fixing on the loom.  BTW, our second chance to catch knots is on the warping board.  Sometimes the eye, almost without trying, will catch that irregularity amongst the lines of yarn.  (Edmund Burke would be proud.)  What's the big deal with the knots?  A: they look ugly in the woven piece; B: they are pretty much sure to pop in the finishing process, making an irreparable gap, making an unsellable product.  Plus, if they don't pop, they still look ugly.

Here you can see how there is an "X", aka the lease cross.  This means there is one thread is going up while on its return it will be on the bottom of this "X".  If you have ever faked down a line on a deck so it can play out quickly with no chance of catching a loop, this is a roughly similar concept.  Richard does it this way and it makes for a neater warp, easier to wind onto the loom--a modest investment in mental health.

The black warp has been wound, pulled off all but the first peg, and chained up.  The chain is merely a slip-knot, in a slip-knot, in a slip-knot (bight in a bight, in a bight, etc.).  The only point of this is to keep the individual yarns copacetic with one another.  If even one end (yarn thread) gets seriously out of whack with its buds, a nightmare ensues trying to wind onto the loom.  Again: small precaution = big mental health payoff.  BTW: some fun facts for you numbers fans:  The chain you see here is just for the black ends, of which there are 148, each 498" long.  Total?  About 1.16 mi. of yarn.  Add in the color ends, and the total warp is about 1.9 mi.  In a single scarf, counting the weft yarn: about 3200 feet, more or less.

A quick snip on the other (beginning) end and it is ready to disappear with R, down into the catacombs.  Part Two to follow.

And All Of A Sudden...

Pamela WhitlockComment

We seem to have shifted from Summer right into Autumn. The days are shorter, the light falls differently, it is definitely cooler at night, the aspens are turning gold, the maples in the Canyon have changed to red, and the deer are finding their way back into our neighborhood. Many of the birds have already migrated to points south. We are hurrying to get our outdoor projects finished before the freezing temperatures set in for good.... or at least for the next eight months.

An interesting factoid: As we have mentioned in a prior blog the Textile Museum is one of our great accounts. But what you might not know is that after the work arrives at the museum it is scheduled to be put into the deep freezer for a week to make certain that no bugs are inadvertently brought in. With rare textiles a part of the displays no chances can be taken with fiber-eating moths.

And now for a quick peek at a new design. We are calling it TerriChex after Pamela's bestie. 


TBT

Pamela Whitlock1 Comment

We are taking a few days off from the loom to catch up on outdoor chores before the summer turns into winter. We've been in this house for five years and the doors still are not painted. We are about to remedy that beginning tomorrow. What has been a very boring white front door is about to turn crimson. All the other doors will turn black... both inside and out. Testing it on one door first, though. 

Our air has cleared up quite a bit but it is still dry and windy and the humidity is extremely low so we are always aware of the fire danger. "They" are predicting a major temperature drop here this weekend and sweaters are about ready to be pulled down from the top shelf in the closet where they have been since May. It stays cold here at 6200' for a long time. 

Photos below are from a trip Pamela took forty years ago. Ladakh, India. Elevation 11,500 feet. 


Who Are We?

Pamela Whitlock1 Comment

We have met many of you "on the road" either through the galleries that represent our work or at shows.  For those of you who have heard our spiel you may sit back and do something else. But for those of you who only know us in a virtual world let us introduce Pamela today..... since she is the person who started the whole sosumi thing.

First of all, the name/word sosumi. It means absolutely nothing.  As a matter of fact, Richard came up with that name in 1988.  Pamela was weaving designs that had a distinctly Japanese look.  Richard wanted something that was also a bit humorous.  Sosumi was born..... as in "You don't like it? So sue me!"  That's all it is.  

OK, now about Pamela. Born in Pittsburgh,PA in the early '50's. Moved to White Plains, NY, for elementary school, Greenwich, CT, for junior high and high school.  Graduated in 1970 and went to Antioch College where she thought she wanted to be an architect, and worked on inflatable buildings with a group by the name of Ant Farm.  Such hippies!

But to back up a bit: Pamela took her one and only weaving class in 1969 in Ludlow,VT, at a place called Fletcher Farm Craft School.  She had a real love of textiles stemming from her mom being an extraordinary knitter, and from having gone to the D+D building in NYC with her mom to go through swatch books by the dozens.  Her home had furniture upholstered in fabric by The Textile Designer giant, Jack Lenor Larsen. Those swatches+knitting yarn+the late 60's/early 70's formed the beginning of her path of weaving.  

She went to school in New Zealand as well (think more sheep than people), and traveled overland through Asia for a year to further pique her interest in weaving.  She had probably woven in just about every fiber available, in every color fad, in most weaving techniques, before she settled on shadow weave as her Technique of Choice.  She is able to get a wonderful 3-D effect with it using a black thread that contrasts nicely with just about any color out there.  (Richard weaves the color-weave effect scarves that we will get to in another blog.)

What else to know about Pamela?  She LOVES to cook and was part owner of a restaurant started in 1977 in Yellow Springs, OH, that is still operating.  Check out The Winds Cafe.  She did all of the baking there.  

What else?  She is very short. She LOVES her kids and four grandchildren.  She loves her Bear. And of course she loves Richard.  She lives a very content life at about 6200' high in a beautiful wide valley in western Wyoming surrounded by 10,000' mountains, and is just a stone's throw from The Grand Tetons and Yellowstone. 

Hey!  She even knows how to weave a palm frond basket!  (1983-ish in Fiji.)

Time For Some New Work

Pamela WhitlockComment

We are into our usual Autumn routine: filling orders that we took back in February. This now becomes our Busy Season.

We are experimenting with some bolder designs. Crisper colors. Designs that we were playing with during a very rainy and cold May. Intense ribbons of color. Feel free to let us know what you think!


When Smoke Is All You Can See

Pamela WhitlockComment

It has been a solid week of decreasing visibility in our little valley. Little by little the mountain ranges have disappeared. We used to be able to see the nearly 11,000' peaks. Not now. Then we could see the 9,000' peaks to the north. They, too, have disappeared. We now have visibility of maybe five miles when it used to be five times that. You can see from these photos how bad the fires are to the north and west of us. The first picture was taken a year ago. Pretty decent air. The second was at the beginning of the week. The last was taken just a few moments ago.

When it is gloomy, as it has been for the past week, we are thankful that we have so many colors on hand to brighten our mood.

Sometimes It Is Just Quiet

Pamela WhitlockComment

We have been working so hard lately getting orders ready for three accounts, one right after another. The first one went out yesterday to a brand new account in Richmond,VA. The Jazzy Giraffe/D. Wright Clothing placed an order with us in February at the American Craft Council Show in Baltimore. We have never been to this store but it looks like it will be a great fit. Next to go out next week is one going to one of our favorite accounts- the Textile Museum in Washington,DC.  And, closing out shipments for August will be one going to another new account- The Goldsmith in Binghamton,NY. Then we get busy all over again for September.

Today we did something a little different. We volunteered to help on an episode of Restaurant Impossible for a camp kitchen redo. Love the show and loved doing something so different from studio time. Only one photo (below) of our time there. We signed a nondisclosure agreement which meant no pictures once we were inside the camp.


Lest We Forget

Pamela WhitlockComment

Sometimes a video of a penman master is just way more important than photos of an artist's studio. And that's exactly what happened yesterday. 

Richard's studio is large. It fills up about 1000 square feet of our basement. He has many, many windows that bring in beautiful light from the south, west, and north.We had the house built with tall ceilings in the basement so you never feel closed in. His studio can accomplish many tasks. He can do woodworking there as well as metalwork (he has a most beautiful 1940's metal lathe!)  He can make jewelry there as well as cloisonne.  And he has a small spot for weaving on his loom.  But we have chosen to show you the quilting part of his studio.  Although too complicated to explain, Richard has done some wonderful ad-hoc engineering to make, in effect, an alternative to a long arm quilting machine. 

And as a quick note we would like to add two things. First of all we hope to have a shopping cart up and running soon.  And finally you can find us on FaceBook at Sosumi/Pamela Whitlock. 

A Noteworthy Video

Pamela WhitlockComment

This video came to our attention, and we thought you might enjoy it as much as we did:

Needless to say, we appreciate hand work.  Of all the arts of the hand, whether in fine art or crafts, there is none as intimate and immediate as penmanship/calligraphy.  

In our weaving, for instance, if we make a mistake we can usually--almost always--back out of it. Sometimes we lose material, always we lose time.  But the end result is an object, a handwoven scarf, of top quality, the error completely erradicated.

It is not nearly the same with calligraphy or pen art.  The mind directs the hand, the hand holds the pen, the line preserves the record.  Ted Williams ranked hitting a fastball as the most difficult skill in all sport.  Multiply that by, say, ten--and you have pen art.  Such a quiet art, but the artist is always on the razor's edge.  Check out the video.

And Now It Continues

Pamela WhitlockComment

We are not certain how often we will update our blog but for now it'll be fairly regularly. It adds another routine to the day which is always a good thing.

If you are reading this and are in the Jackson Hole area you will be able to see our work again fairly soon! We are going to have a booth at Takin' It to the Streets on September 13th. This takes place at the end of the Fall Arts Festival and coincides with one of our favorite events, Taste of the Tetons. We don't have our booth number/location yet but it's a very small show and only locals exhibit in it. You can't miss us! We will have a wonderful selection of scarves plus four of our big quilts.We will also be doing a show in Denver in October but we will post more about that one once we have the information. 

Let's show you a picture of a virtual quilt that has sold. Obviously it had many more blocks but this will give you an idea of a totally different design that can certainly be made to order. This one was in black+deep charcoal alternating with squares of black+off white but it could be made in any color combinations.  

And in case you wondered what our studios look like..... here's Pamela's. Not very big!(12'x14')(But she gets a lot done in this small space.) We'll post some pix of Richard's tomorrow.

And So It Begins

Pamela Whitlock2 Comments

         Welcome to our blog, and its very first post.

         We intend this to be both pleasant and informative.

         However things might work out over time, our first inclination is to use this blog to inform you of new designs of our handwoven bamboo scarves, as well as our upcoming shows.

         In addition, though, you will see that we have enabled Comments.  That means that you are more than welcome to pitch in.

         In fact, the impetus to creating this blog is to answer the question we hear so often: “How long does it take you to make one of these?”

          The “long” part is, in a sense, unquantifiable.  For starters, we have never done a time/motion study of either of us in action.  That is not likely to change.  Why not?  Because it varies.

          Varies according to what?  Everything: weave structure, color changes, temperature, weather, ancillary stressors, quality of yarn, whims of the Directors of Chaos—whatever.

          Besides which, Pamela weaves much more quickly than Richard.

          Pamela has been weaving since the Summer of Woodstock.  She weaves almost as quickly as the eye can see.  Not quite as quickly as, say, the air jet looms we recently saw at the Pendleton Mill in Oregon, but she can really crank it up.

          Richard is a newbie, by comparison.  Not too bad on a good day, but nowhere near Pamela’s rate.

          And this holds equally true for the other tasks: winding a warp, changing the harnesses and heddles, dressing the loom, etc.

          The key point of the oft-heard question is not “how long,” but “how?”  We intend to address that over time in this blog, initially with text and photos, eventually with videos. 

          Stay tuned.

          Ask questions.

Please note: we reserve the right to edit Comments.  Our goal in editing will be to increase clarity and utility of communication.


Our first “newsy” bit: Pamela has created a new weave structure for our line.  We are naming it “Stacey.”  Here’s a quick pic:

As long as we're at it:

Here is the view outside Pamela's studio:

And here is the view when our dear beast, Bear, is caught in the act.  If you gaze long enough at the Bear, the Bear gazes back into you (perhaps that was Neitzsche's first draft).